


DHCP (Dynamic Host Configuration Protocol) is a network protocol that automatically assigns IP addresses to devices on a network. t makes network setting easier for both small and big networks by automating the process. Devices may swiftly and effectively get an IP address and network settings without the need for human interaction thanks to the four steps: Discover, Offer, Request, and Acknowledge. In addition to lowering the possibility of mistakes, this procedure makes the most use of the available IP addresses, enabling networks to grow without interruption. Network administrators may simplify network administration and guarantee seamless device connection by being aware of how DORA operates. In the end, the DORA process is an important tool in contemporary networking settings as it helps to maintain a dependable and effective network.
How does DORA work?
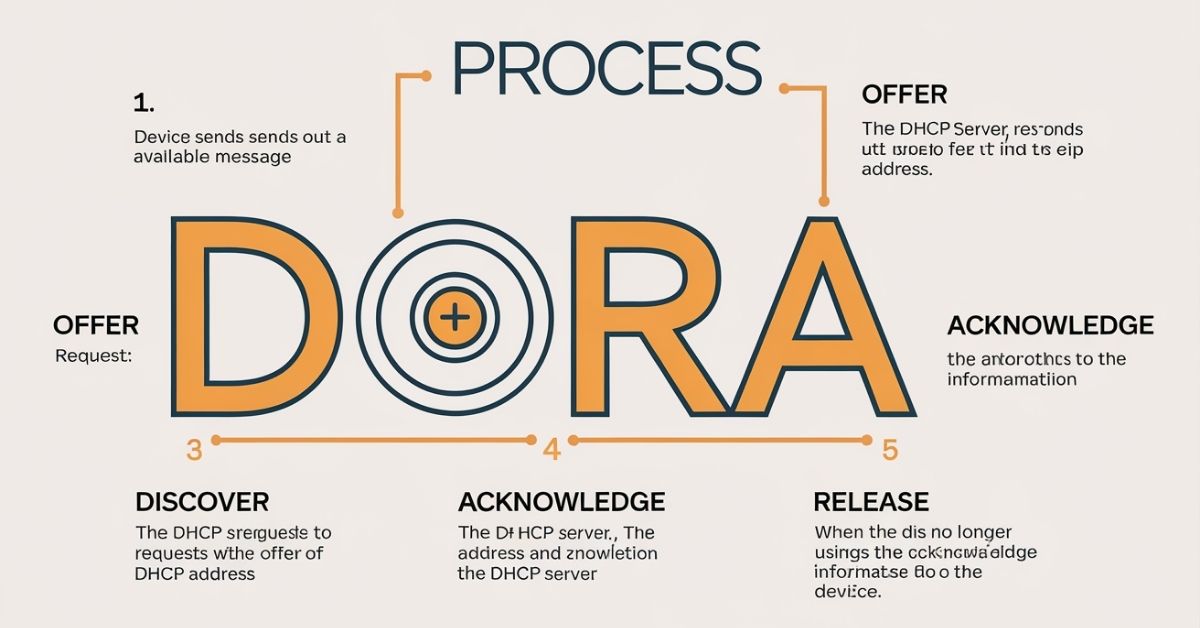
The DORA process works in four key steps, which allow a device to get an IP address and network settings from a DHCP server:
1. Discover
Here’s a breakdown of the Discover step in the DORA process:
Initiation: When a device connects to the network, it doesn’t have an IP address.
DHCPDISCOVER Message: The device sends a DHCPDISCOVER message to the network. This message is broadcast, meaning it’s sent to all devices within the local network.
Finding DHCP Servers: The purpose of the Discover message is to find available DHCP servers on the network that can assign an IP address.
No IP Address Yet: At this point, the device still doesn’t have an IP address and relies on DHCP to assign one.
Broadcast Nature: Since the device doesn’t know where the server is, it uses broadcasting to reach all potential DHCP servers within its network segment.
2. Offer
The Offer stage in the DORA process is broken out as follows:
DHCP Server Reaction: The accessible DHCP server replies to the device with a DHCPOFFER message after receiving the DHCPDISCOVER message.
IP Address Offer: The server is providing the device with an available IP address, which is shown in the DHCPOFFER. The DHCP server’s pool of accessible addresses is where this address originates.
Additional Network parameters: The Offer message contains the IP address as well as additional network parameters that are required, like:
- Subnet mask
- Default gateway
- DNS server addresses
Unicast or Broadcast: The server typically sends the Offer message as a broadcast, but if the device has already sent a unicast message, the server may use unicast to reply.
Waiting for a Response: The DHCP server waits for the device to respond, indicating whether it accepts the offered IP address and network settings.
3. Request
Here’s a breakdown of the Request step in the DORA process:
- Device Chooses the Offer: After receiving the DHCPOFFER message, the device decides to accept the IP address offered by the DHCP server.
- DHCPREQUEST Message: The device sends a DHCPREQUEST message back to the DHCP server, requesting the offered IP address and confirming its intent to use it.
- Request Confirmation: The DHCPREQUEST message also indicates that the device wants to use the specific settings (IP address, subnet mask, gateway, etc.) offered by the server.
- Broadcasting the Request: The DHCPREQUEST message is usually broadcast to the network so that all other DHCP servers can know that the device has accepted an offer from a specific server (if multiple servers responded).
- Server Acknowledgement Pending:
The device has now chosen the offer and is waiting for the final confirmation from the DHCP server, which will come in the next step: Acknowledgment.
4. Acknowledge
Here’s a breakdown of the Acknowledge step in the DORA process:
- Server Sends DHCPACK:
After receiving the DHCPREQUEST message from the device, the DHCP server sends a DHCPACK (Acknowledgment) message back to the device. - IP Address Confirmation:
The DHCPACK confirms that the IP address has been successfully assigned to the device. It means the server has accepted the request and completed the allocation of the IP address and network settings. - Final Network Configuration:
The DHCPACK message includes all the necessary network information, such as the assigned IP address, subnet mask, default gateway, and DNS server addresses, which the device will now use. - Device Is Configured:
Upon receiving the DHCPACK, the device is fully configured and can now begin communicating on the network using the assigned IP address. - Lease Duration:
The DHCPACK also specifies the lease duration, which is the period the device can use the IP address before it needs to renew the lease.
Why is the Dora process required?
The DORA process is required for several important reasons:
- Automated IP Address Assignment: Without DORA, network administrators would need to manually assign an IP address to each device that connects to the network. DORA automates this process, saving time and reducing the chances of errors.
- Efficient Use of IP Addresses: DORA helps manage the allocation of IP addresses from a pool. Once a device is assigned an IP address, it can be reused when the device disconnects, ensuring efficient use of available addresses, especially in large networks.
- Consistency and Scalability: As networks grow, manually managing IP addresses becomes impractical. The DORA process ensures that devices are automatically and consistently assigned appropriate network settings, making it easier to scale networks. Simplified Network Management: By automating IP address assignment, DORA reduces the complexity of network configuration and management, making it easier for both small and large networks to function smoothly.
Conclusion
One essential tool for controlling IP address distribution in networks is the DHCP DORA procedure. Both small and big networks may have their network setting made simpler by automating the process.
Devices may swiftly and effectively get an IP address and network settings without the need for human interaction thanks to the four steps: Discover, Offer, Request, and Acknowledge. In addition to lowering the possibility of mistakes, this procedure makes the most use of the available IP addresses, enabling networks to grow without interruption. Network administrators may simplify network administration and guarantee seamless device connection by being aware of how DORA operates. In the end, the DORA process is an important tool in contemporary networking settings as it helps to maintain a dependable and effective network.
FAQs
What is the DORA method?
The DORA method is a four-step process in DHCP: Discover, Offer, Request, and Acknowledge, used to automatically assign IP addresses to devices on a network.
How to implement DORA?
To implement DORA, configure a DHCP server on your network. Devices automatically send a DHCPDISCOVER message, receive a DHCPOFFER, send a DHCPREQUEST, and finalize with a DHCPACK from the server.
What are the first steps of DHCP?
The first steps of DHCP are:
- Discover – The client sends a DHCPDISCOVER message to find a server.
- Offer – The DHCP server responds with a DHCPOFFER message containing an IP address.